Capillary columns must be properly installed to ensure optimal performance and long-term durability. Following the correct installation procedure is essential for achieving accurate and consistent results in gas chromatography.
Step 1: Inspect the gas filter, carrier gas, injection port, and liner. Make sure the gas filter and injection pad are clean and functioning correctly to maintain proper ventilation of the auxiliary gas and detector. If you've previously analyzed a dirty sample or a highly reactive compound, it's important to clean or replace the inlet liner to prevent contamination.
Step 2: Prepare the column by placing the nut and seal on it, then carefully cut both ends of the capillary column. The cut should be smooth and even to ensure a good connection.
Step 3: Attach the column to the injection port. The depth of insertion may vary depending on the GC model. It's crucial to insert the column so that the tip is positioned in the middle or lower part of the inlet, typically about 1–2 cm from the end of the column after the needle has passed through the septum. Always refer to the instrument’s manual for specific guidelines. Avoid bending the column forcefully or allowing sharp objects to come into contact with it, as this can cause damage.
Once the column is in place, tighten the coupling nut using a wrench—about 1/4 to 1/2 turn more than hand-tight. A secure connection prevents leaks and avoids permanent damage to the column.
Step 4: Turn on the carrier gas. Once the column is connected, allow the carrier gas to flow and adjust the pressure to achieve the desired flow rate. To check for leaks, insert the outlet end of the column into a vial of hexane. Bubbles should appear steadily; if not, check the gas source, flow controller, and gas path for leaks. After confirming no leaks, remove the column from the vial and ensure there is no residual solvent left at the column port before proceeding.
Step 5: Connect the column to the detector. This step is similar to connecting it to the inlet. If your system uses an ECD or NPD detector, disconnect the column during the aging process to protect the detector from potential contamination.
Step 6: Confirm the carrier gas flow rate. Never heat the column without a carrier gas, as this can cause irreversible damage.
Step 7: Age the column. After installation and leak testing, heat the column to its upper temperature limit (or up to 10–20°C higher, but never exceeding the maximum operating temperature). During aging, the baseline will initially rise and then stabilize after a few minutes. If the baseline remains unstable after one hour or doesn’t show a clear downward trend within 15–20 minutes, there may be a leak or contamination. In such cases, cool the column below 40°C and inspect the system immediately.
Polar or thick-coated columns typically require longer aging times, while non-polar, thin-coated columns age faster. For PLOT columns, follow the manufacturer’s recommended aging conditions:
- AT·Pora series: 250°C for 8 hours or more
- Molecular Sieve: 350°C for 12 hours
- Alumina: 200°C for 8 hours or more
Note that moisture-sensitive PLOT columns (like alumina and molecular sieve) may need re-aging after exposure to high-moisture samples due to water adsorption.
Step 8: Set and confirm the carrier gas flow. For capillary columns, use high-purity nitrogen or hydrogen (purity >99.95%). Instead of measuring flow in mL/min, calculate the average linear velocity (cm/s), as this directly affects column efficiency. Recommended values are:
- Nitrogen: 10–20 cm/s
- Hydrogen: 20–25 cm/s
Install a gas filter, deoxygenation tube, and purifier to extend column life and reduce background noise. For ECD systems, a deoxygenation tube in the auxiliary gas line is highly recommended.
Step 9: Check for column loss. After aging, perform a blank run using a temperature program (e.g., 10°C/min from 50°C to max temp, held for 10 min). A clean chromatogram should show no peaks. Any peaks indicate contamination, possibly from the inlet. If the baseline increases over time or shows significant changes at lower temperatures, it could signal column or system contamination. Regular monitoring helps maintain performance and identify issues early.
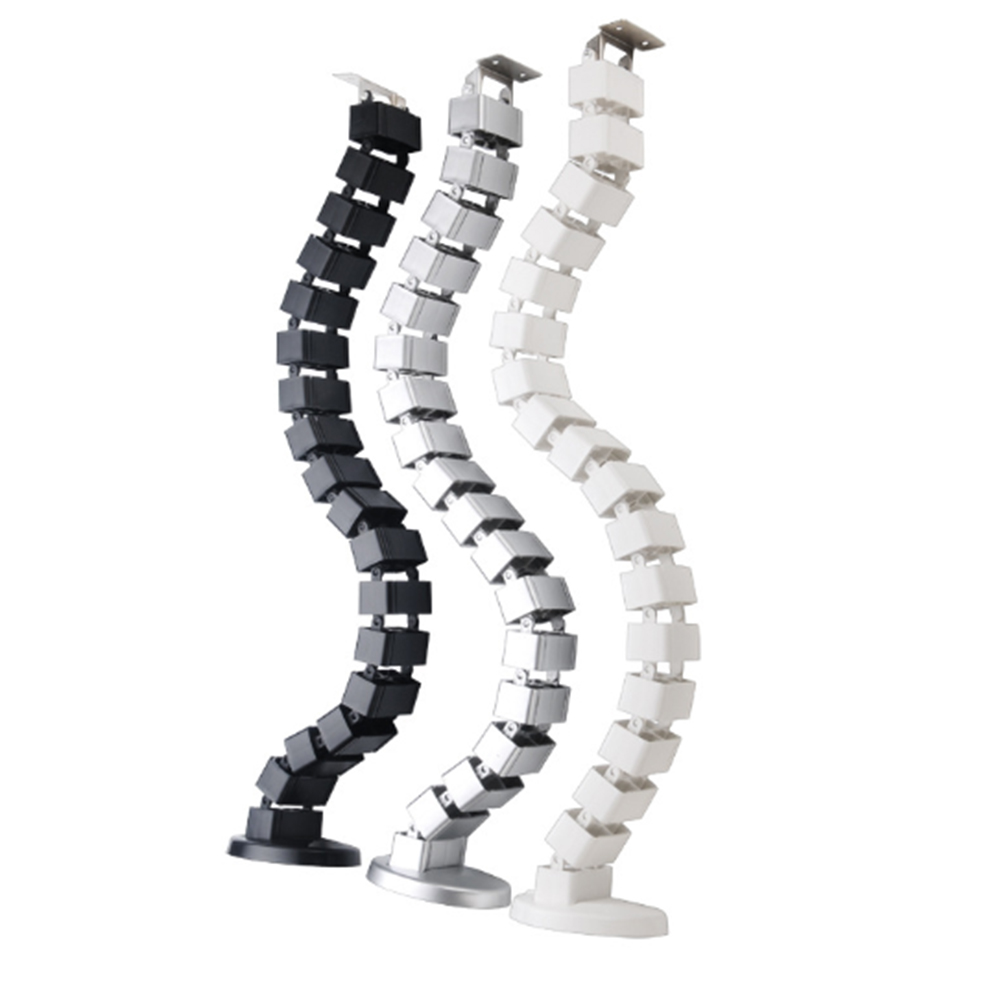
In order to meet the various needs of customers, we have integrated many suppliers and developed many products of office desk accessories,such as table top, office partition,Monitor arm,support racket,socket,serpentine tube,foot pad and so on. We have rich experience in project orders. We are committed to providing instant solutions for desks and designing competitive prices for your workplace. So let's work creatively and efficiently with uplift!

Desk Accessories,Electric Desk Accessories,Standing Desk Accessories,Height Adjustable Desk Accessories,Office Desk Accessories
Suzhou Uplift Intelligent Technology Co., Ltd , https://www.upliftec.com