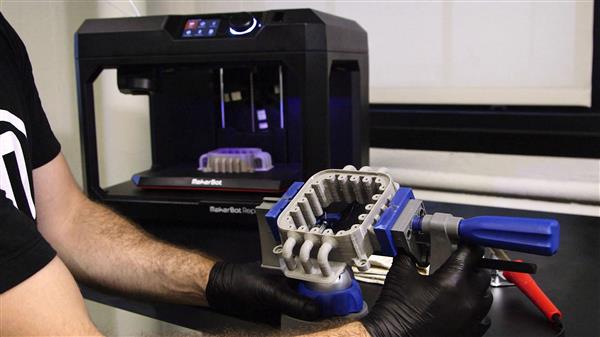
Recently, New York 3D printer manufacturer MakerBot released six 3D post- printing guides that show how to achieve a perfect surface finish, how to 3D print silicone molds and how to vacuum form. See below for details:

Polish 3D printing parts
Polishing 3D printed models can help eliminate appearance defects, but it is important to practice carefully. Start with a rough sandpaper and gently and gently polish it. It is important not to polish in one place for too long, as the heat generated by the friction may melt the PLA material. MakerBot recommends that if you plan to bond the model to the next step, be careful not to remove too much material from the seam or adhesive surface.

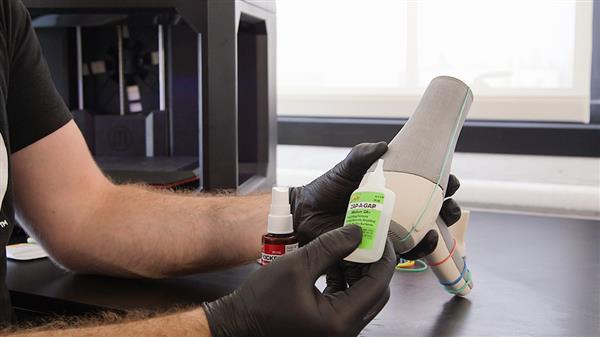
Paste 3D printing parts
When creating a connection part for a model, make sure that the connection parts are large enough. This will enable 3D printers to create them clearly. In general, its diameter should be greater than 4-5mm. If the seam is rough or has a gap, it can be smoothed with an adhesive or filler.
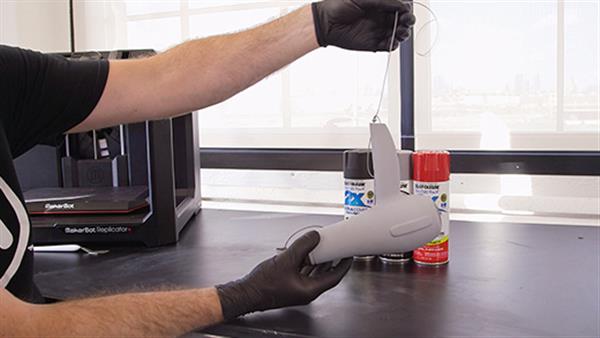
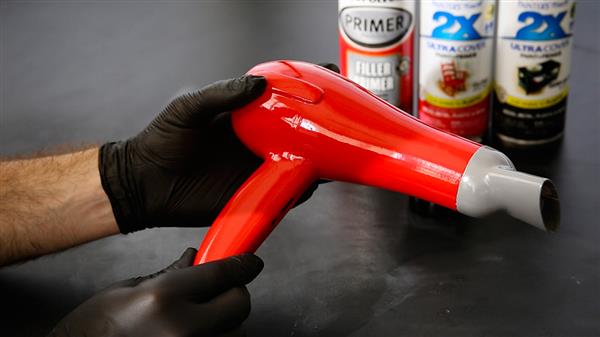
Draw 3D printed parts
Once the 3D printing component has been polished and bonded, it needs to be drawn. This is an important stage in post-processing, and MakerBot recommends hanging the prepared 3D prints in an open, dust-free space to maintain adequate ventilation. In the drawing process, the primer should be applied evenly first, and the main step should not be carried out without the primer being dried. Then another stage of sanding is carried out, followed by spraying the coating. After 2 to 3 days, polishing was performed.
Install the threaded insert into the 3D printed part
To extend the life of 3D printed components, it is often useful to install threaded inserts. If you do this, the holes in the model should be slightly smaller than the inserts you are installing. In addition, the number of threaded inserts is determined by the size of the actual 3D print. At the same time, pay attention to temperature control to prevent deformation of PLA material.
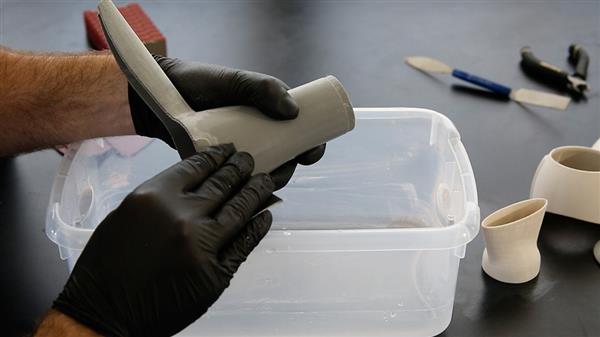
Silicone molding using 3D printing dies
Through this step, the user can easily make multiple copies of a product and use materials that are not supported by the 3D printer. Users need to prepare a 3D printing mold box, main mold, silicone resin, resin, measuring cup and other materials. According to MakerBot, there is a simple way to calculate the mold volume by filling the 3D printed mold box with water and pouring the water into the measuring cup, which is then converted by the unit of measure.
Vacuum forming using 3D printing dies
The final part of MakerBot's post-processing guide is to teach you how to use 3D printing dies to complete vacuum forming. Vacuum forming is a manufacturing process in which a plastic material is heated and pressed onto a mold to produce a part. When 3D printing vacuum forming molds, MakerBot recommends adding housing and filling settings to create a solid mold that can withstand vacuum forming pressure. At the same time, an industrial vacuum forming machine is needed to heat the plastic sheet and then press it onto the 3D printed mold. MakerBot also reminded that in order to guard against mold damage, it is best to prepare multiple spare molds.
Electronic lighters, electric lighters, lighter categories, lighter factories, lighter manufacturers, lighter manufacturers, lighter wholesalers, lighter craftsmanship
Electronic Lighter,Electric Lighter,Lighter Wholesale,Lighter Customization,Lighter Printing
Hunan Feituo Automation Technology Co., Ltd. , https://www.feetoolighter.com